During January, I managed to finish all the cuts of the MDF. Once I reached that point, the pieces sat there for a little while again--it's hard to find time to get down there. If the boys are awake, they want to come down with me. If they're asleep, I can't make a lot of noise down there.
In the end though, I got down there, and was able to place the two cabinets sides on top of each other. Even though they'd been cut out independently of each other, they fit together very well, with only a 1/16" difference between them at most. I sanded out the minor differences in the edges, and rounded the corners.
I then assembled the base. As per the source plans I'm using, the base is in two pieces, and I opted to use some metal strapping top and bottom to hold them together. The strapping means the floor of the cabinet is not perfectly smooth, but I made sure to leave enough room so that the PC case could rest securely on the floor of the cabinet, without being on top of either strap. That's the only thing that needs to go on the floor of the cabinet, so it should be okay.
The wheels went in fairly easily, and I offset the 5" kickplate, front and back, to give my fingers enough room to reach under and lock the wheels.
Once that was done, I had the base assembled, and I wasn't sure what the best way was to attach it to the sides. I ended up placing one side on the floor, dropping the base on top of that, and then screwing the corner brackets into place, leaving me with what you see below.
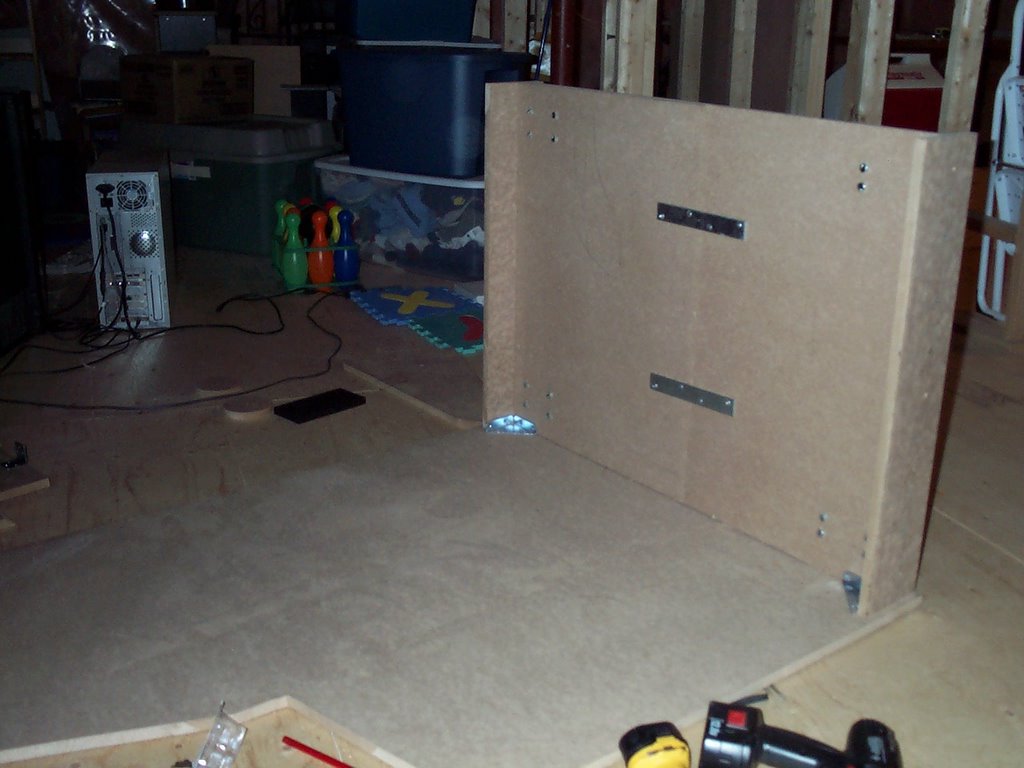
At this point, I stopped to do some thinking about exactly how I was going to get the second side installed.
In the end, I figured out the location for the front supports, rear slanted cover, top, underside of marquee and so on, and stuck them to the inside of the cabinet with small L brackets. I ended up with one side of the cabinet on the floor, and all these pieces of wood sticking straight up in the air. As these are all fairly small pieces, they were fine in the short term with just the bracket holding them in place.
This meant I could then take the second side, and maneuver it on top of this forest of MDF. I rested it on there, lined it up, and then screwed it into the base. Then, I went along and screwed in the inside brackets.
Next up was putting all the screws through the side of the cabinet into the cross-pieces. That went okay, apart from a few near misses. I then flipped the whole thing over onto its other side, and screwed the first side in. This was the side that had only been bracketed in so far.
At the end of all that, I had this:
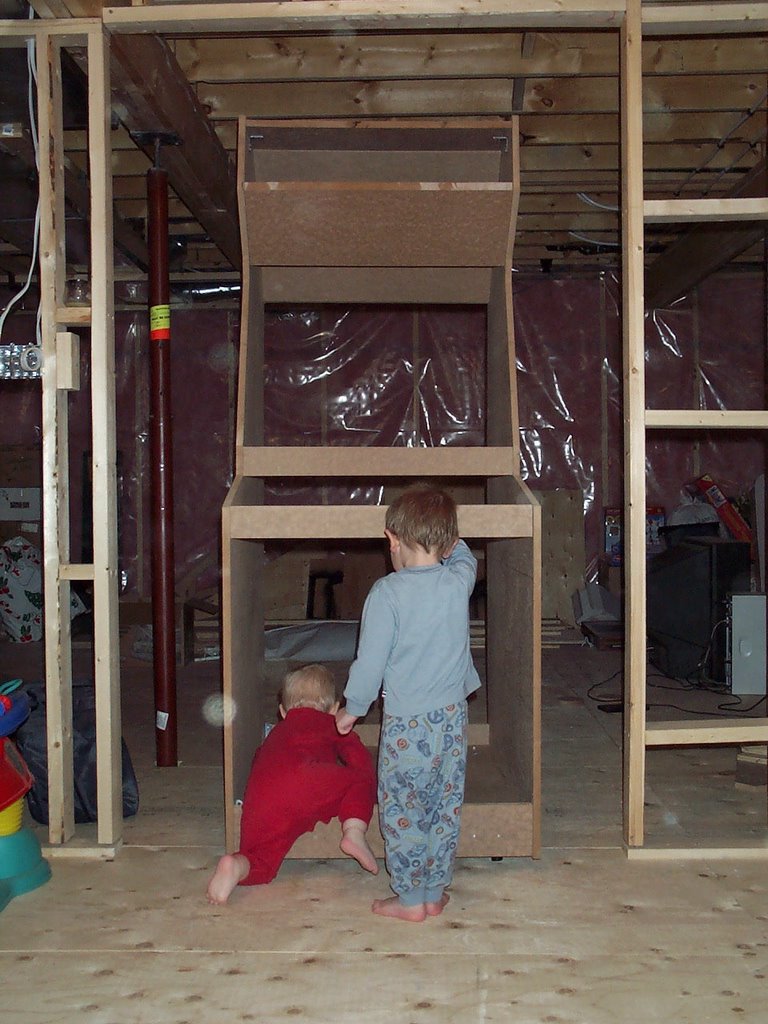
The boys really like it too, and came down just before bed while I was trying to take the photos. Nicholas helped during some of the construction, and actually did help, a sure sign he's getting older. He held some screws for me, at least until he lost interest and then I set him up with a piece of scrap wood, a small hammer, and some nails.
The next step is to work on the doors, front and back, and the drawer. I was planning on using plywood for the doors, as using MDF would have meant purchasing a whole other sheet. The plywood is nice and light too, which puts less stress on the hinges.
The only thing that worries me about that is whether it will paint to the same texture as the MDF. In the end though, if it doesn't, the doors are a fairly easy component to change.
I'm still not sure whether I'm going to look for a reclaimed coin door locally, or just bite the bullet and order one from Happ Controls--maybe I'll do that, and then I can order marquee edging and a bunch of tokens at the same time too.
We'll see. Now that the most time-involving parts are done, the rest should be easy, and work I enjoy a lot more than woodwork. Give me electronics, every time, thank you.
No comments:
Post a Comment